
Ultimately I want to make a Bokken but first I need to build up my wood craft skills and confidence. I have made quite a few wooden Tantos and I was eager to start my next project.
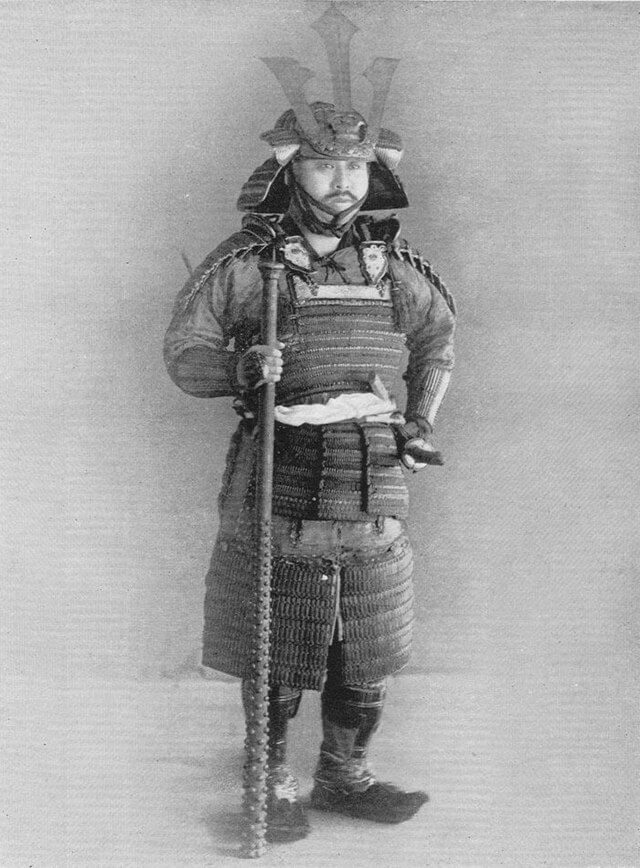
I found an image of an Oni (a mythical Japanese Demon/troll) holding a rather fearsome looking weapon called a Kanabo. There is something rather beguiling and visceral about this weapon so I set about planning and acquiring the materials for my next endeavour.

There are a few varieties of Kanobo, the one depicted is the full size hardwood version with iron studs. The studs act as force multipliers in a similar way that the spikes on medieval maces did. The Kanobo was used to crush armour, crush helmets and smash swords. It was very popular with Samurai and peasants alike as it was often used against war horses and their riders. A very democratic weapon and compared to a sword very easy to make.
I found some Sapele in a local wood yard, I would have liked to use Oak but this piece of Sapele is harder than Oak whilst being flexible (my local wood yard are used to me coming in and making odd requests) and it only cost me £9 for a 5-foot length.
I chopped the length down so it fit just under my armpit, 54 inches in this case. I figured that adapted Jo and Bokken techniques would be my best option for wielding the Kanobo so it seemed only natural to make it the same length as my Jo. I divided the length into 2 sections, 35 inches for the shaft and 19 inches for the grip, guard and pommel.
I marked the shaft end with 45 degree angles to form an octagon. I then used a hand plain to form the shaft. It would have been better to use a table saw as the angles and distances would have been more even. However, it came out quite well and I felt that doing it by hand brought a certain amount of satisfaction and authenticity.
As you can see not exactly uniform but by the time the screws are in it still looks great.
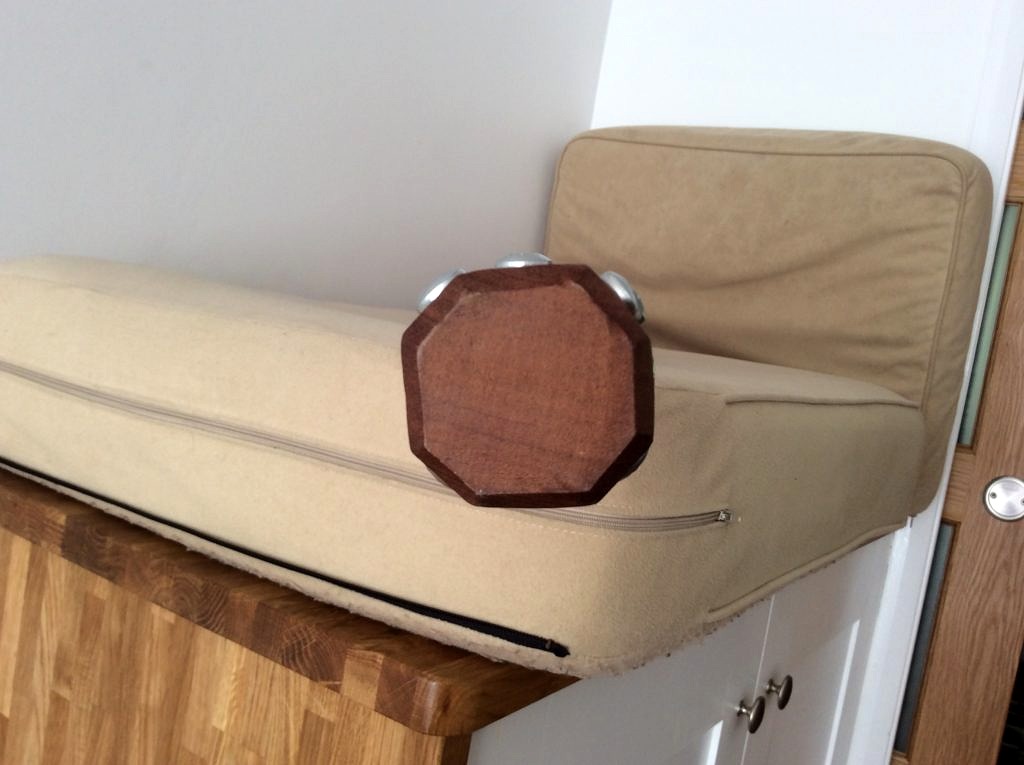
For the guard I decided to keep the shape of the uncut wood and let the carving naturally rise and fall to form a cube shape. Not much of a guard but as I found out later very useful during use.
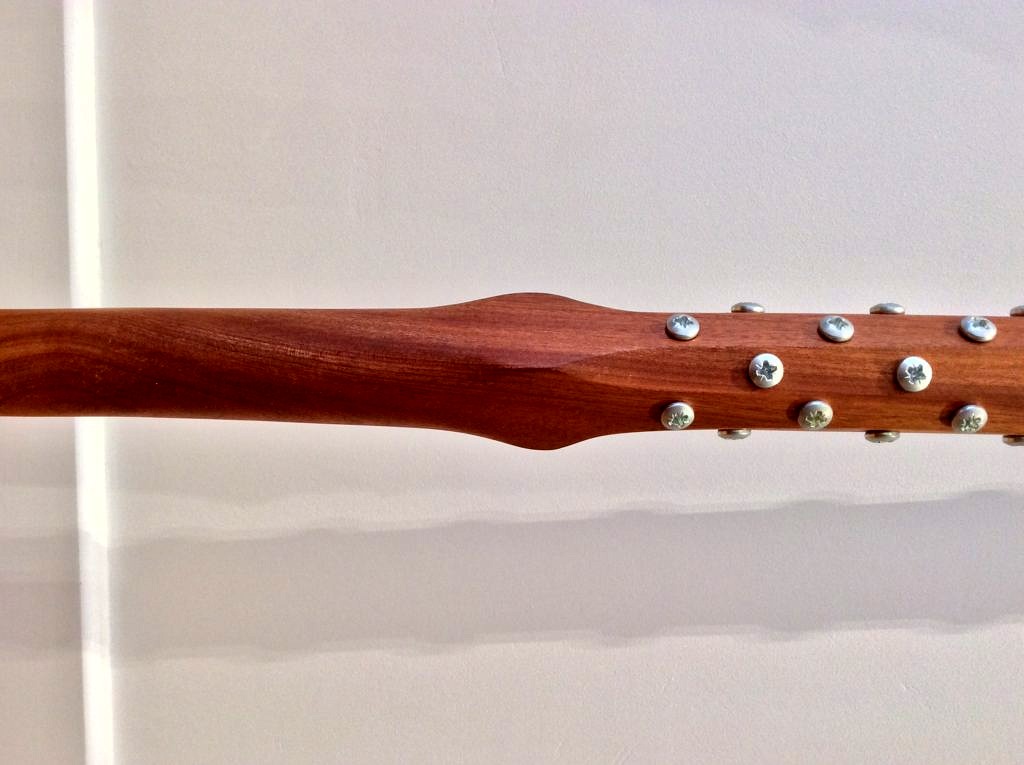
Next came the grip. I drew a circle on the pommel end and attacked the grip with my trusty rasp by eye and feel. Your finger tips and hands are amazing at feeling out irregularities.
Most people think I turned the grip on a lathe, it would have been the obvious method if I had one… So that came out well too, and no power tools yet.

During the grip forming I decided to do the same to the pommel as I did with the guard, this seemed like a natural evolution, I didn’t have a plan for any styling, it just formed as I went.
I shaped the pommel and the shaft end with a finger saw (one of the favourite power tools) I should have done this by hand but the mozzies were driving my mad so I use the file for speed.
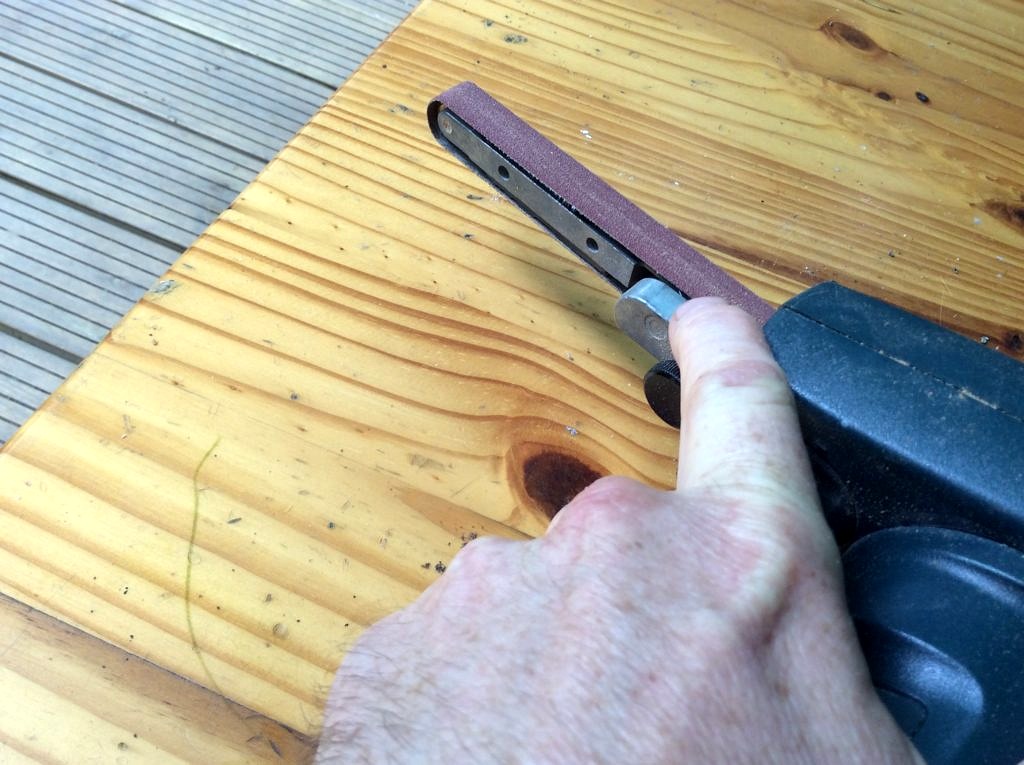
I spent a rather long time sanding the wood, it’s a very hard wood and I had to use a metal file to get the tool marks out and a hell of a lot of elbow grease and sand paper to get a semi decent finish, this took the longest out of all the processes.
Once I was relatively happy with the finish I applied Bees wax all over.
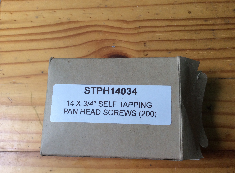
For the studs I used these screws:

I marked a centre line down each face of the shaft and starting 1 inch from the end positioned the studs 2 inches apart all the way to the guard.


The next row starts 2 inches from the end and again are 2 inches apart. Then repeat for each face, check that the patterns are uniform. I drilled a pilot hole for each screw and I used an electric screw driver for speed, the poor thing did almost burnout though.
So that’s 17 down one face, 18 on the next and so on, 140 screws in total.
The whole stud/screw phase only took 2 hours.
The whole project took about 10 hours of labour.


Comments